










Comprehensive Guide to Deep Cleaning Your Kitchen
Cleaning all those kitchen appliances can be daunting. But we've got your back.
We’re going to be honest – of all the rooms to deep-clean, the kitchen may be the most involved, and the most frustrating – especially if you cook. There are so many appliances, and all of them collect grime, grunge, crumbs, and more. That doesn’t mean it’s not worth it. Honestly, if you use your kitchen at all, this may be the most satisfying room to clean. Having a gleaming countertop and a toaster that doesn’t look terrifying can go a long way toward feeling like you’re at home – and like you’re doing a good job with that home.
But you’re definitely going to be putting the elbow grease in to make it happen. This list is going to take you through a deep clean of the kitchen. You’ll get both general room-cleaning advice, as well as kitchen-specific tips and tricks, and info on cleaning things you might not have thought to clean. (“But the dishwasher’s job is to clean things!” you might say. “Do I really need to clean it?!” Yes. Yes, you do, unless you want to be blasting your dishes with the grime of dishes past. By the time you’re done, this kitchen is going to feel like yours again.
Clean the oven
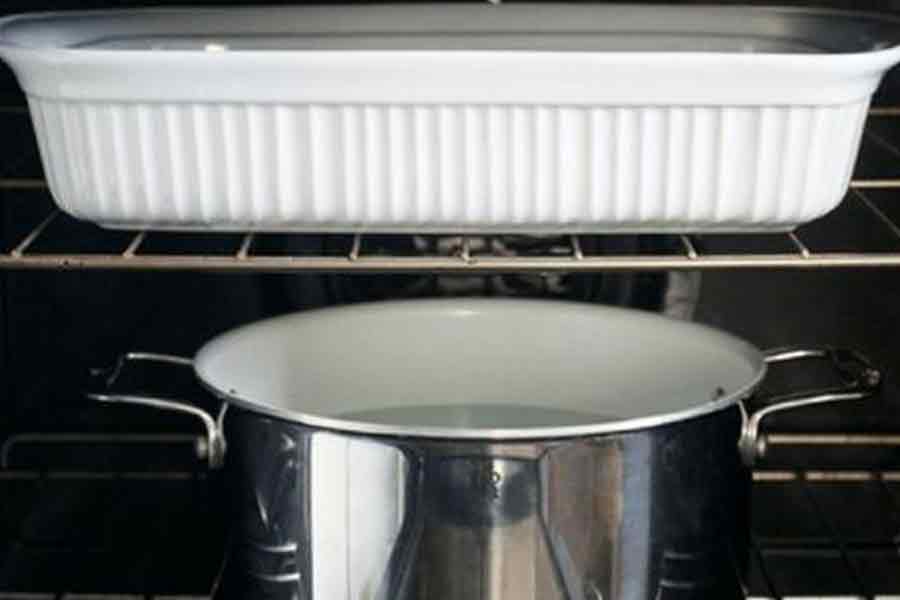
Preheat your oven to 200° Fahrenheit, then turn it off. Put an oven-safe glass dish with 1-2 cups of ammonia in the middle rack, and a dish with boiling water on the bottom rack. Leave them there overnight.
In the morning, wipe the oven out with a sponge drizzled with baking soda.
Clean the stovetop

You can scrub an electric stovetop clean with vinegar and baking soda. For a gas stovetop, use dish soap or multipurpose cleaner.
Before you can do that, though, remove the knobs and grates and clean them thoroughly.
Clean the range hood and filters
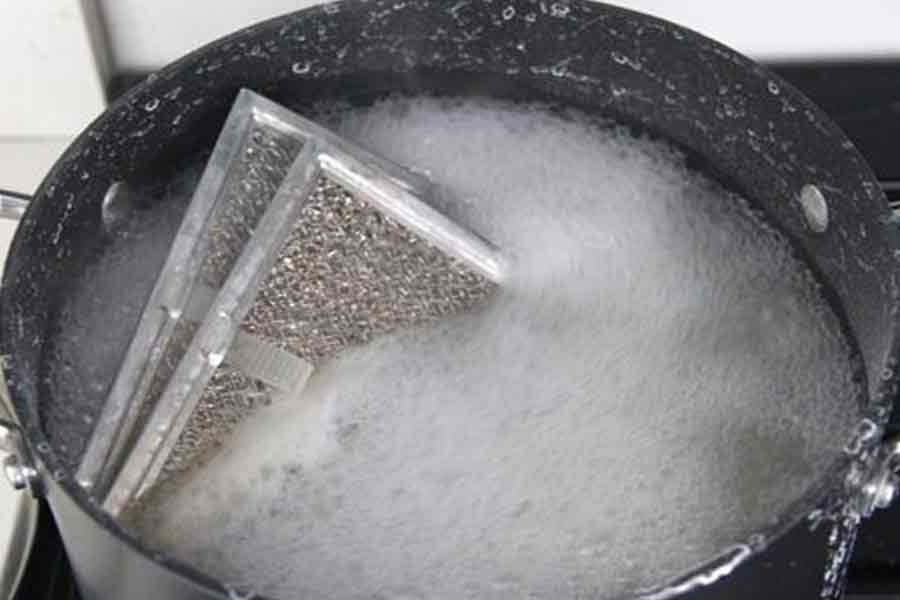
Your range hood filters are designed to collect grease. If you’ve never cleaned them, they’re going to be pretty gross. Completely submerge them in extremely hot (if not boiling) water mixed with de-greasing dish soap and ¼ cup of baking soda.
Soak them for ten minutes, then scrub them clean, rinse them, and replace them.
Clean the microwave

Take a bowl and fill it half with water, and add a tablespoon of white vinegar. Microwave it for five minutes. The steam will loosen the gross food bits, and make the microwave easy to wipe down. You can also do it with a lemon.
Squeeze a lemon into a half-cup of water, and drop the lemon halves in. Microwave on high for three minutes, then let it stay in there for five minutes more. You should also clean the outside of the microwave.
Clean and/or polish the sinks
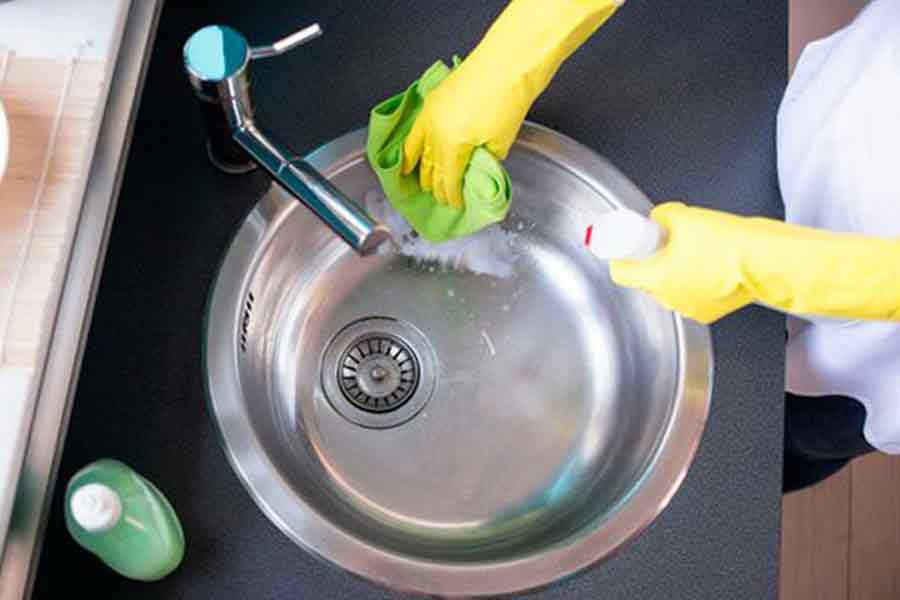
Don’t use an abrasive cleaner. Most sinks clean perfectly well with a mix of dish soap and warm water, or with an all-purpose cleaner. If you have white porcelain sinks, you can line the sink with paper towels and soak them in bleach.
Of course, that’s a terrible idea for any other kind of sink, whereas a multipurpose cleaner is pretty safe.
Clean the walls and backsplash
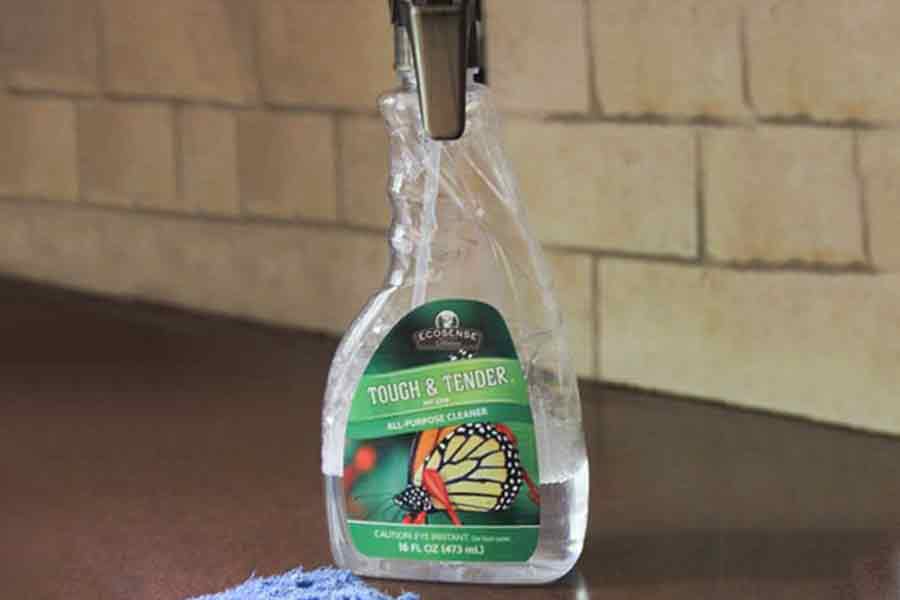
Walls can be done with a damp cloth. The backsplash will need treatment depending on its material. If it’s ceramic, marble, glass, or plastic, hit it with an all-purpose cleaner designed to remove grease, and let it sit awhile (20 to 30 minutes) before wiping it down.
For steel, see the previous slide. You can resort to a stainless steel cleaner in the event of heavy grease.
Clean any stainless steel
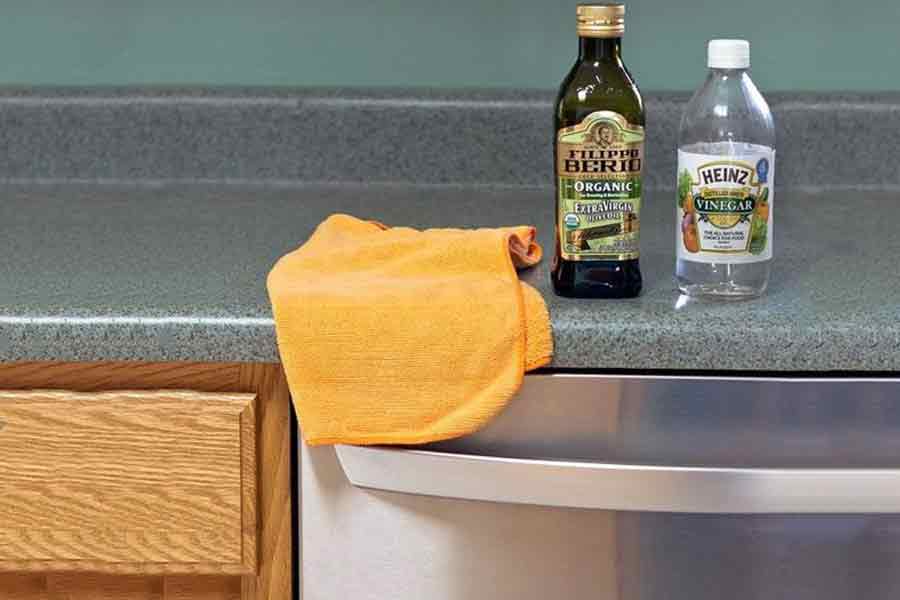
Let’s talk about how to deal with stainless steel appliances and fixtures. Stainless steel has a grain, just like wood. You want to rub in the direction of the grain. You can use Windex or an all-purpose cleaner.
But another great method is to spray the steel down with plenty of vinegar and wipe it down with a soft cloth in the direction of the grain. Then take your cloth, dip it into a little of the oil (mineral oil works well, but olive oil will do) and polish in the direction of the grain.
Clean the dishes
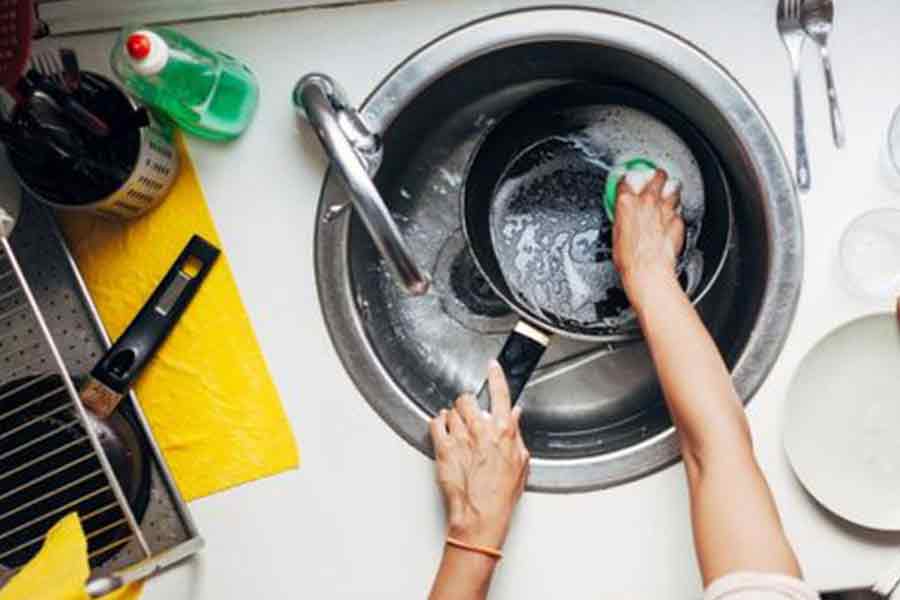
Hopefully, you aren’t embarking on this journey with a sink full of dirty dishes. But if you are, now’s the time to handwash them or run them through the dishwasher.
We’re about to be cleaning everywhere else you might have to put them.
Clean the coffeemaker
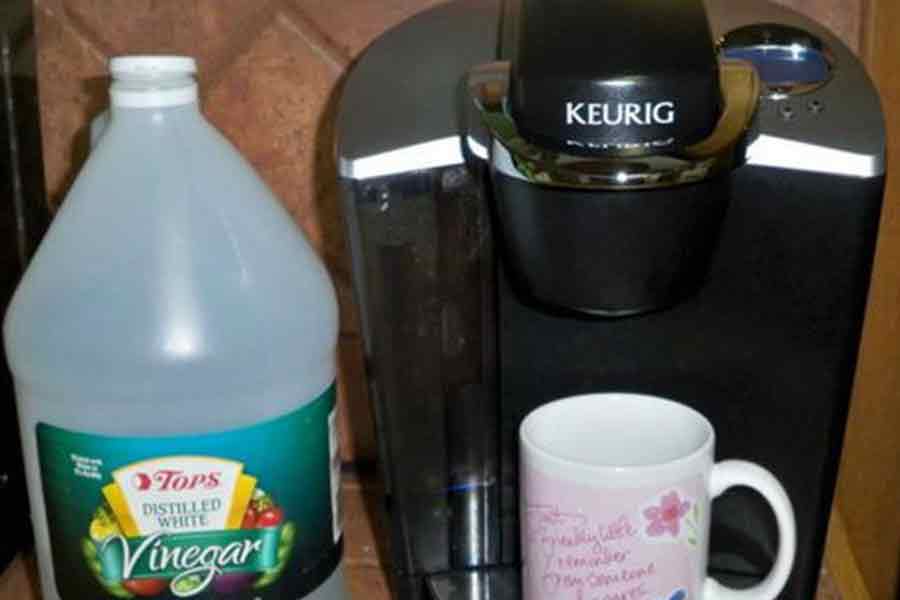
Fill the pot with 3 cups white vinegar and 6 cups of cold water, and brew it. Then run two full pots of water only.
You’ll also want to scrub the carafe out.
Clean floors
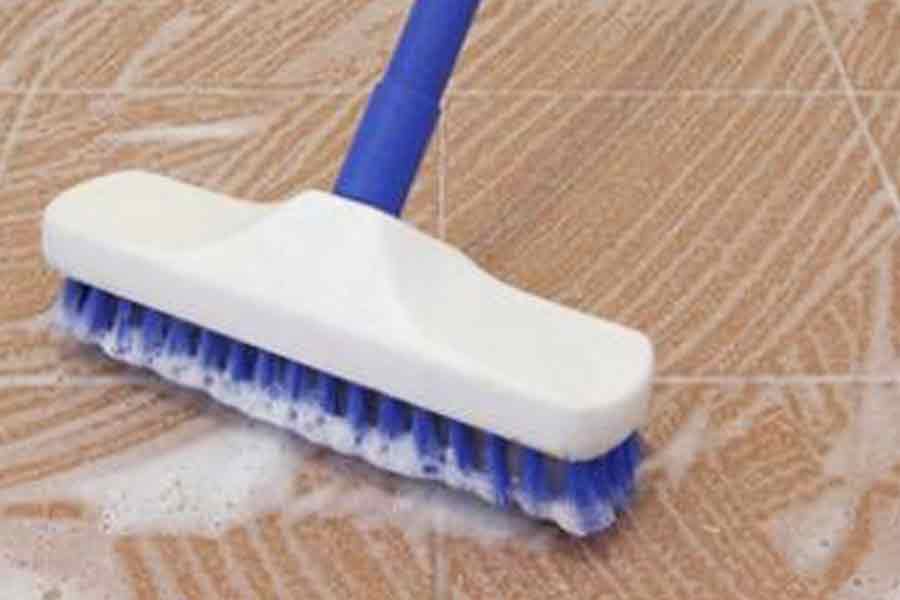
Since your floor is likely laminate or tile in a kitchen, you’ll want to sweep or gently mop. Swiffer-style mops are good for this. If you really want to get down there with a rag and a toothbrush, now’s your chance.
But honestly, you’ve worked hard enough at this point.
Clean baseboards
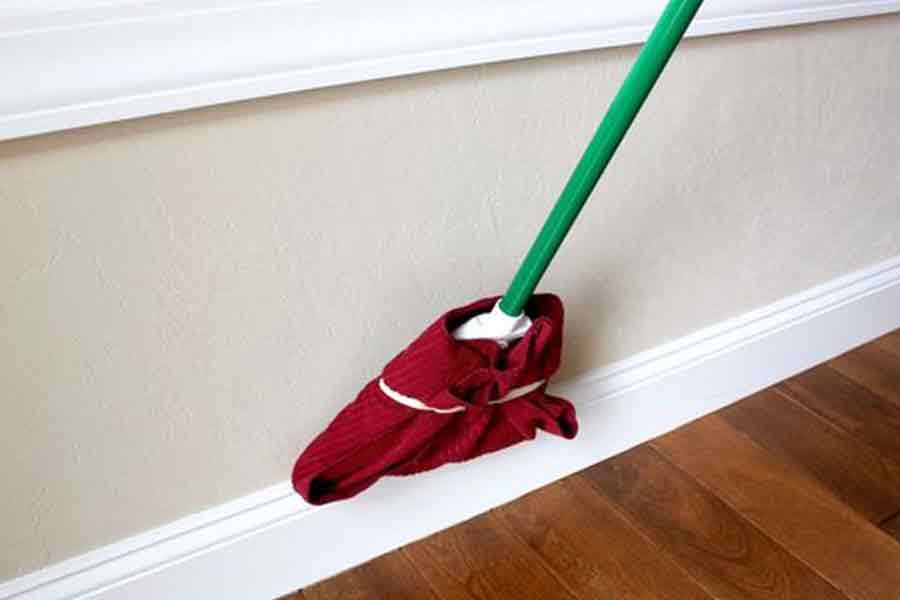
We’re back to the standard room-cleaning chores, now that all of the weird, intensive appliance cleaning is done.
Use a damp cloth, and check for any paint that might need repairing.
Empty trash and clean trash can
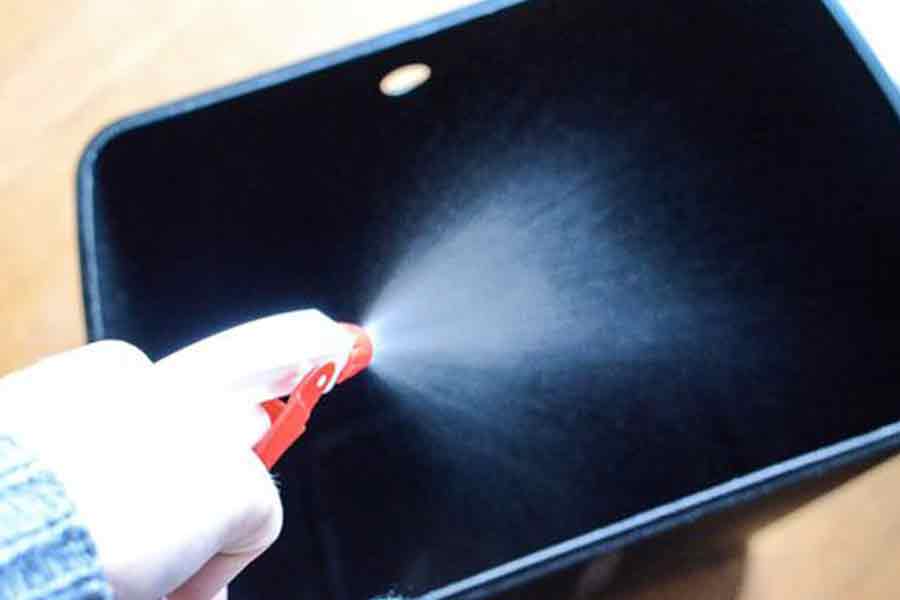
Take the trash out, sure. But you should also wash the trash can itself. Even with the best liners, some gross stuff is going to wind up in the bottom of that trash can.
Do yourself a favor and deal with it.
Move the refrigerator and stove
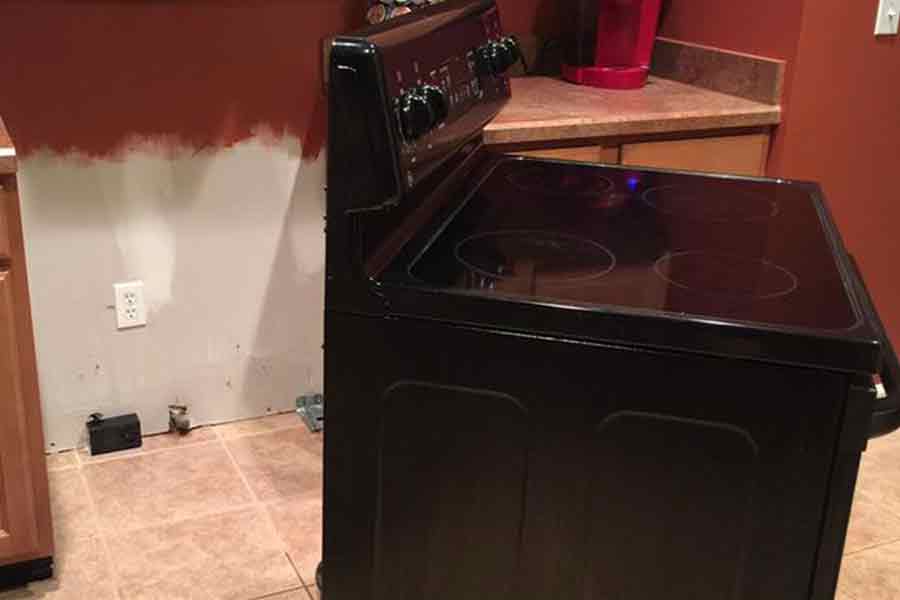
Come on, now, you know it’s gross under there. We’re not doing this in half-measures.
Get under those appliances and get that dust and dirt out.
Clean the china

China isn’t as popular as it once was, but if you have it, you should know how to care for it. Place a towel or mat in the sink to protect dishes that may fall.
It’s like washing dishes, but very gently. Use warm water, not hot. Only use a little detergent. Use a washcloth, not a brush, and let the dishes air dry. Be as delicate as you possibly can.
Polish silver
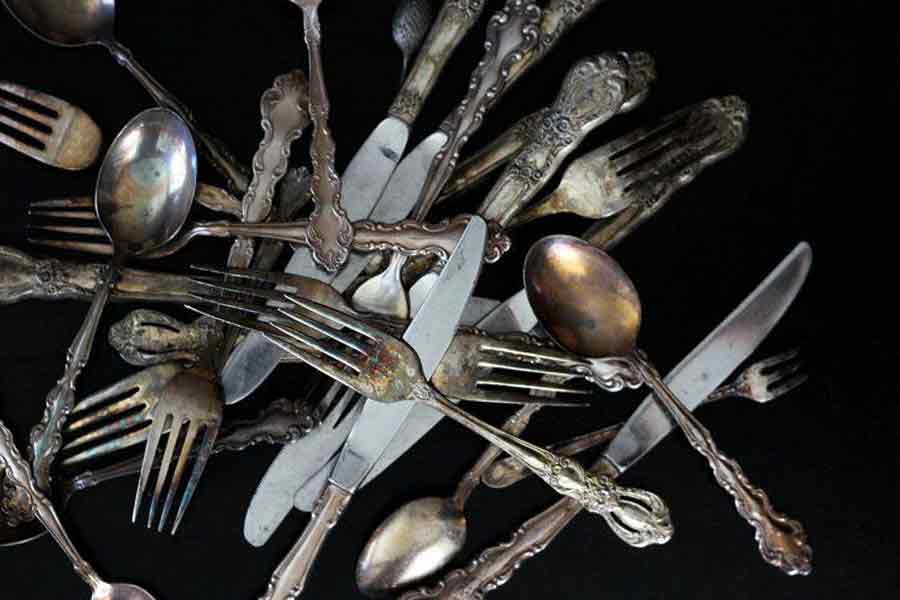
Do people still have silver? On the off chance that you do still have silver place settings, you can use a polish like Weiman’s, or use a teensy bit of mild dish soap and warm water in a pinch.
(We recommend going for a polish if you’re cleaning everything.)
Clean the furniture
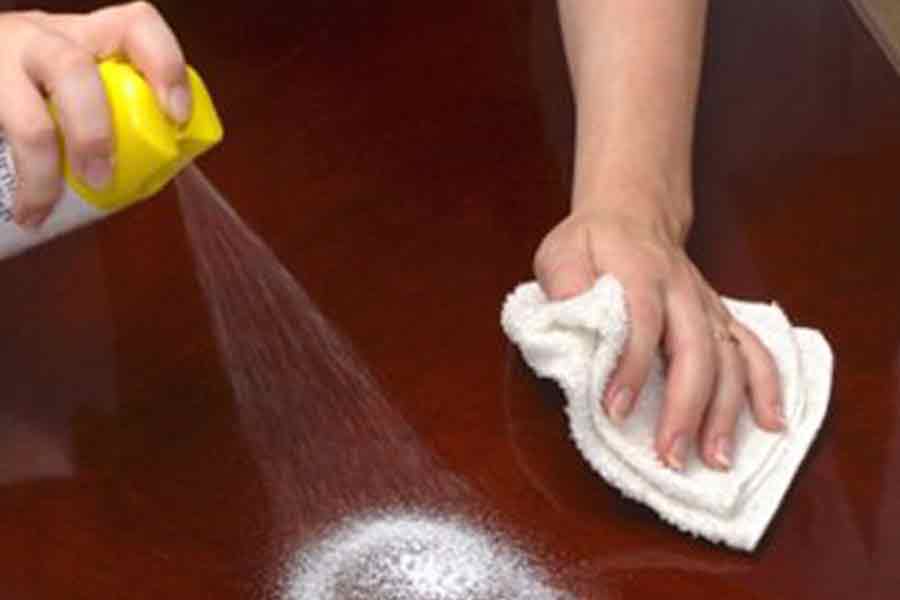
Everyone does kitchen furniture a little differently. Tackle any tables, chairs, or stools with a damp cloth, or some polish.
If you have a china hutch, now’s the time to spiffy it up.
Clean the countertops
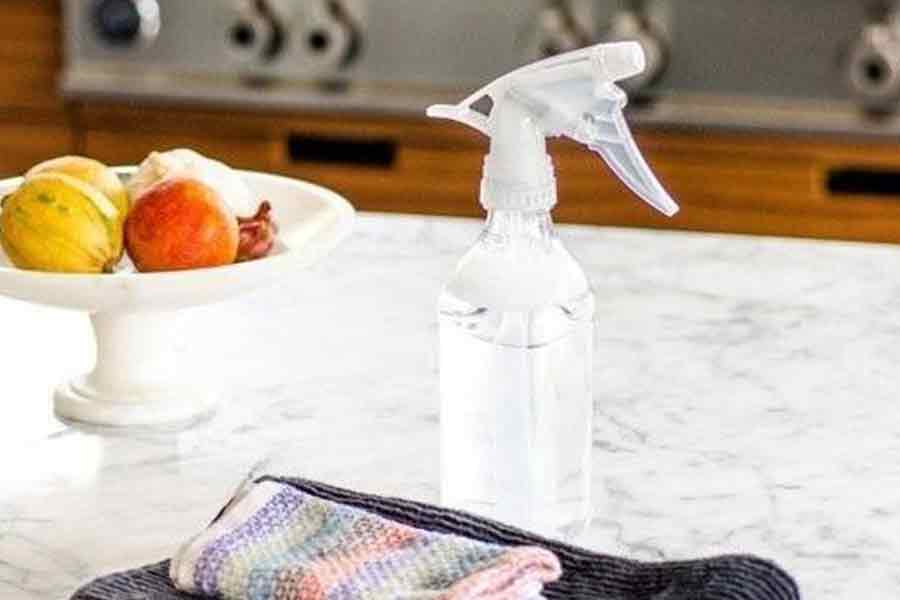
A nice multipurpose cleaner and a cloth or paper towel can do the trick here.
Don’t forget to clean any small appliances you may have – like toasters or blenders – first.
Organize the drawers
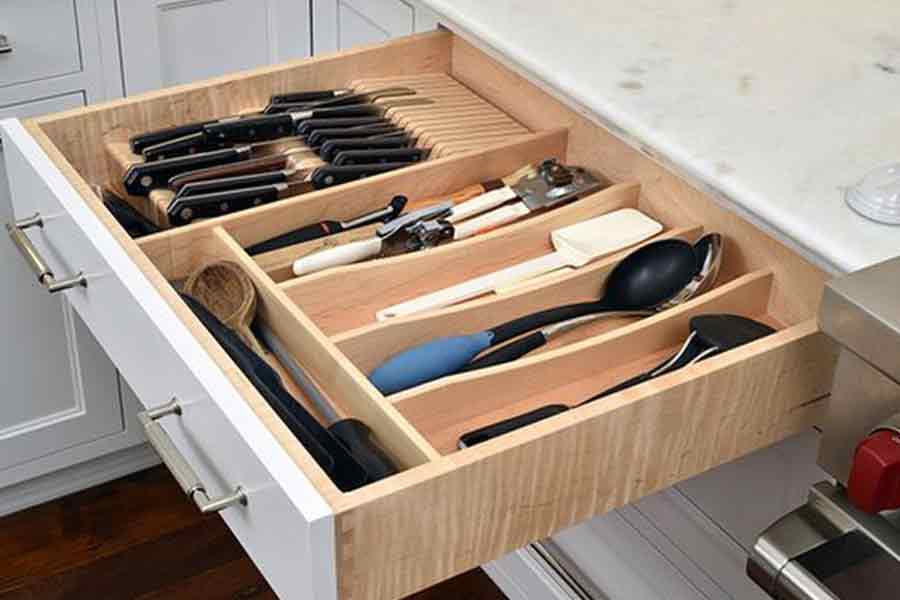
When you put the contents of the drawers back, make them nicer than they were.
Put like-items with like-items.
Clean out the pantry
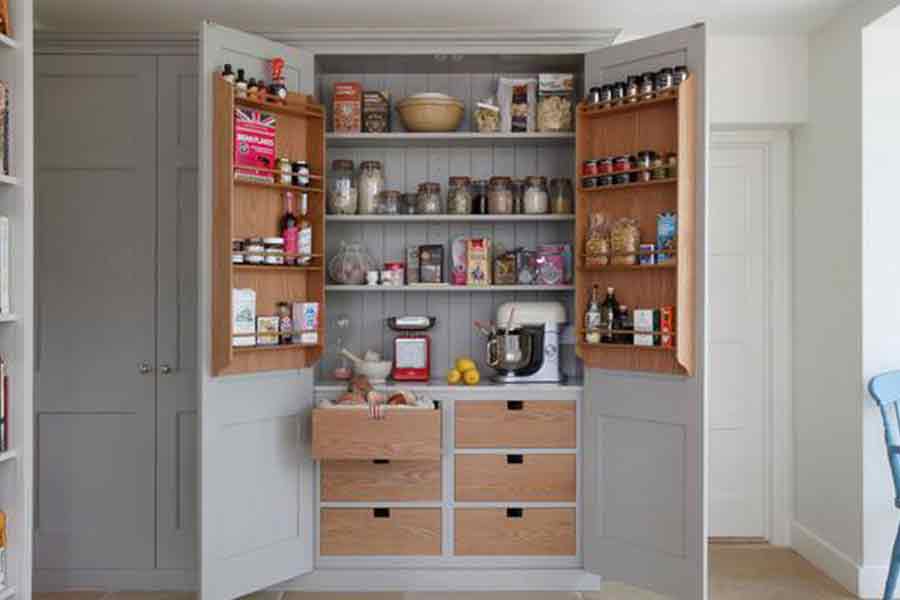
Same story here. Clean thoroughly. Get the doors, the walls, and each shelf.
If you’re sick of how things are laid out – for instance, you’re sick of reaching past the flour every time you need olive oil – fix it now.
Empty and clean cabinets

Vacuum and/or wipe down each shelf, all the way to the back.
Take this opportunity to put things back neater than they were when you took them down.
Clean windows
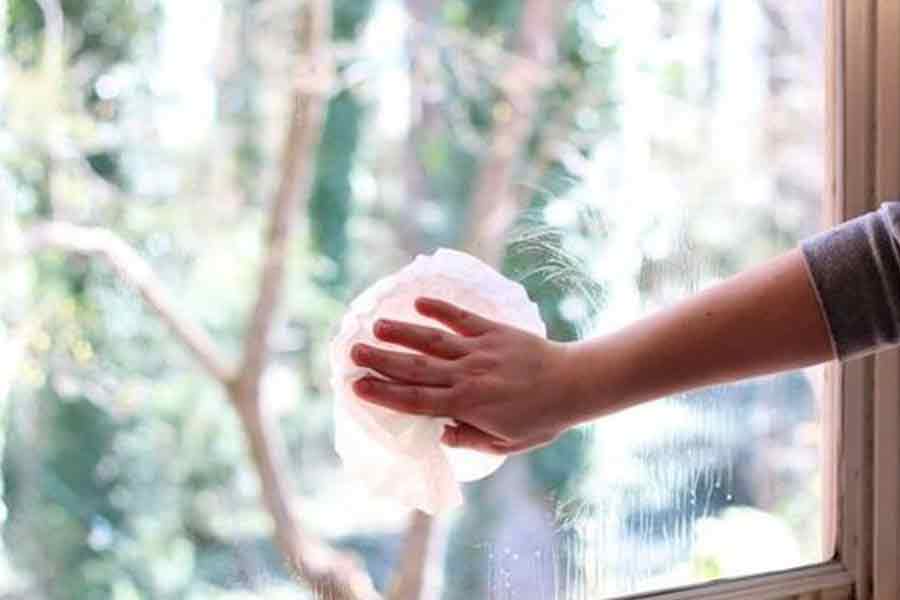
Get the windowsill, the glass, and the screen.
Use a window cleaner on the glass, while a damp cloth will probably suffice for the sill.
Remove and clean curtains
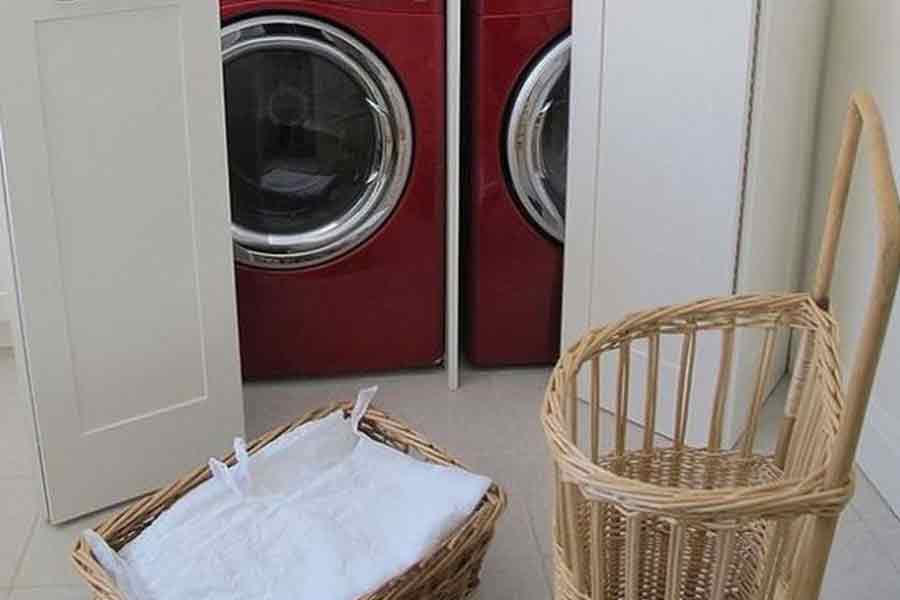
This is partially for the curtains’ sake, but it’s also to let in as much light as possible to see what you’re doing.
Once you’ve taken them down, put them in the washing machine or dry clean them, depending on their care instructions.
Clean the upper trim

Dust around the trim by the ceiling, or clean it with a damp cloth. Hit up the corners for cobwebs.
You probably know the drill if you’ve seen our other deep cleaning guides.
Start from the top and clean down
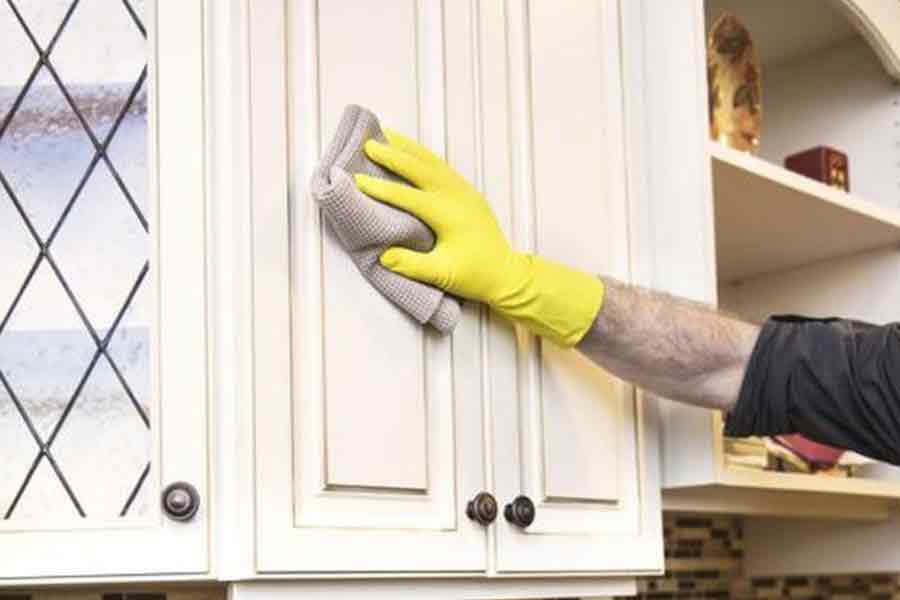
Before we get into the kitchen-specific stuff, we have to do the basic room stuff.
Otherwise, we’ll degrease the stovetop, just to knock a bunch of dust down onto it when we hit the trim.
Put on some music

Like always, this is going to be a slog. Phone a friend, or put on a podcast if you don’t feel like hearing some tunes.
But give yourself something to make this easier.
Gather your supplies
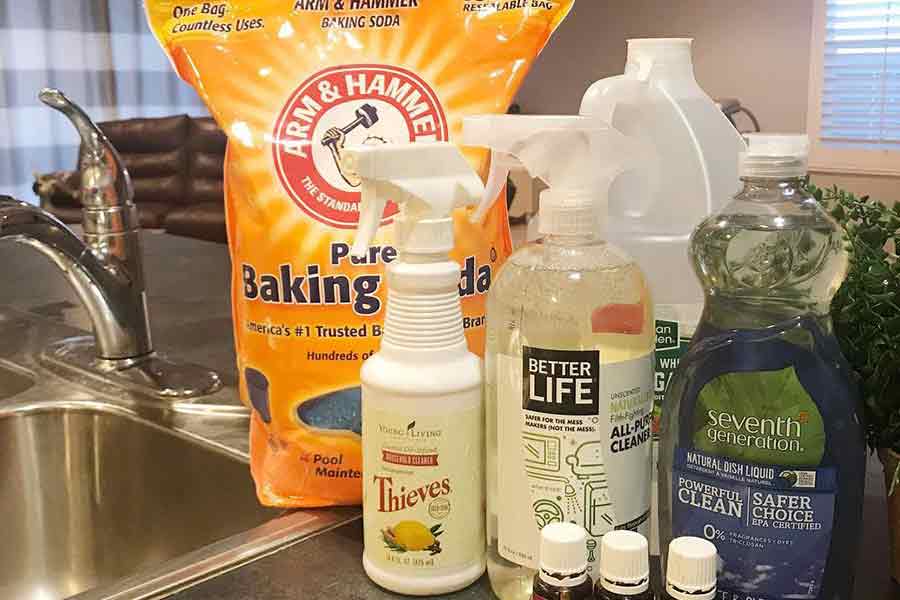
You’ll need some cloths, a long-handled duster, an all-purpose cleaner, a powdered scrub like Barkeeper’s friend, and LOTS of vinegar, dish soap, and baking soda.
You should also get bags to act as your donate/sell/give away piles.
Clean the freezer
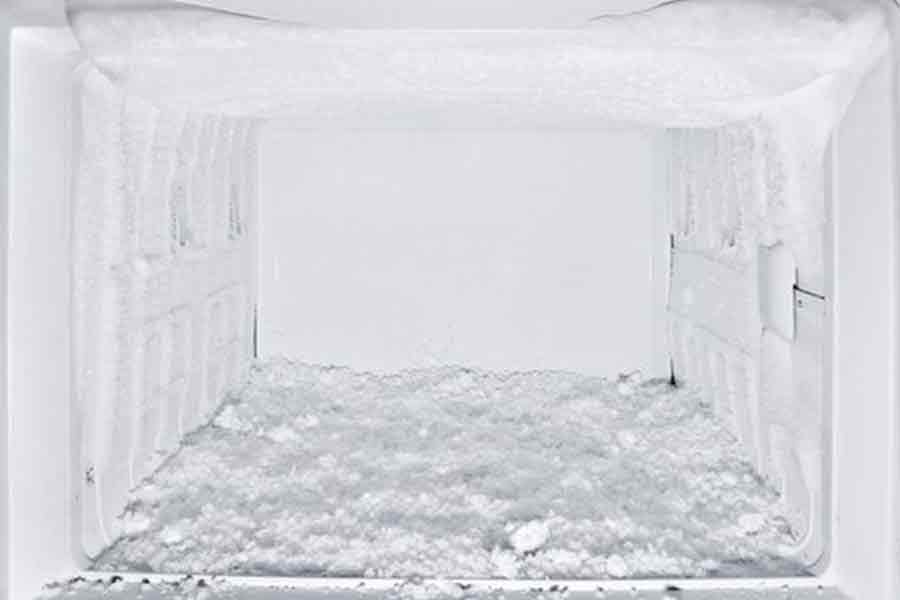
Unplug the freezer. Scrub the ice trays and set them aside to dry. Ditch any food that’s been in there too long. Put the rest in a cooler. Remove and scrub every shelf.
Defrost excess ice on the base or walls with a rag dipped in rubbing alcohol. Use a cup of water with a teaspoon each of vinegar and dish soap to clean the walls and shelves.
Remove, empty, and clean drawers
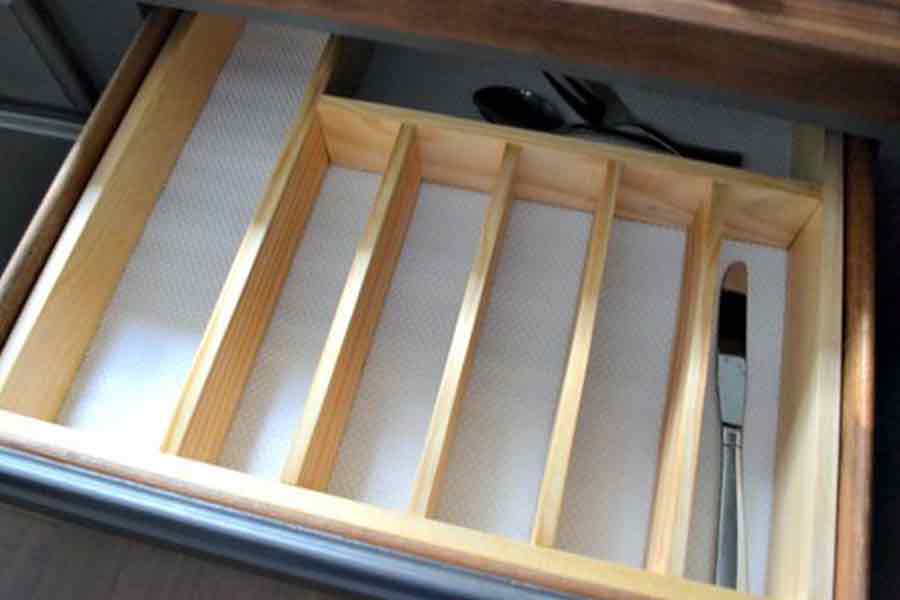
Pull all of the drawers out, empty them, and vacuum them out.
Rub them down with a damp cloth before putting them back.
Clean the dishwasher
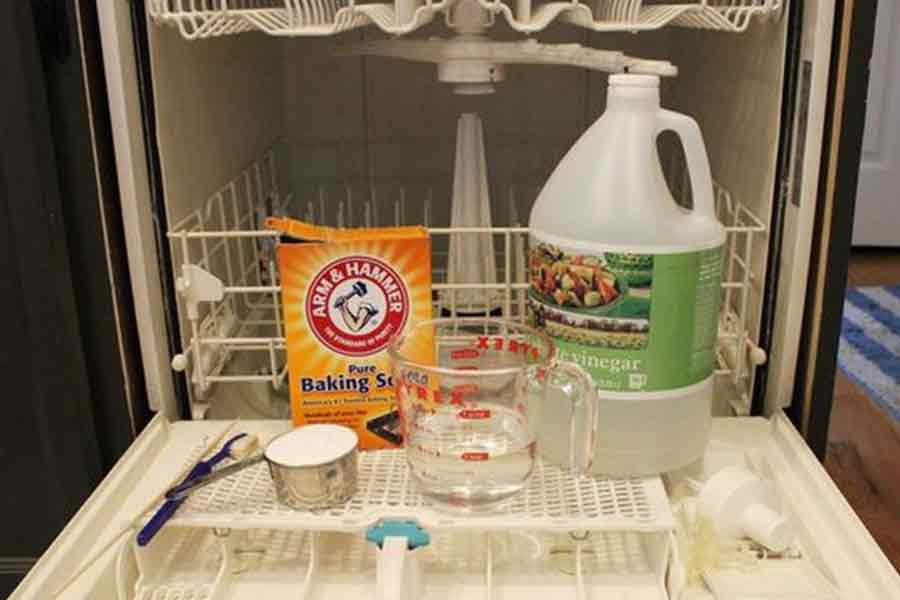
Check the drain area for blockages – you can find anything from bones to shards of glass, so be careful. Run a wash cycle with a cup full of white vinegar on the top rack.
Sprinkle baking soda around the bottom of the dishwasher and run a short cycle with the hottest water you can. You’ll probably also want to scrub the outside of the dishwasher, too.
Clean the refrigerator
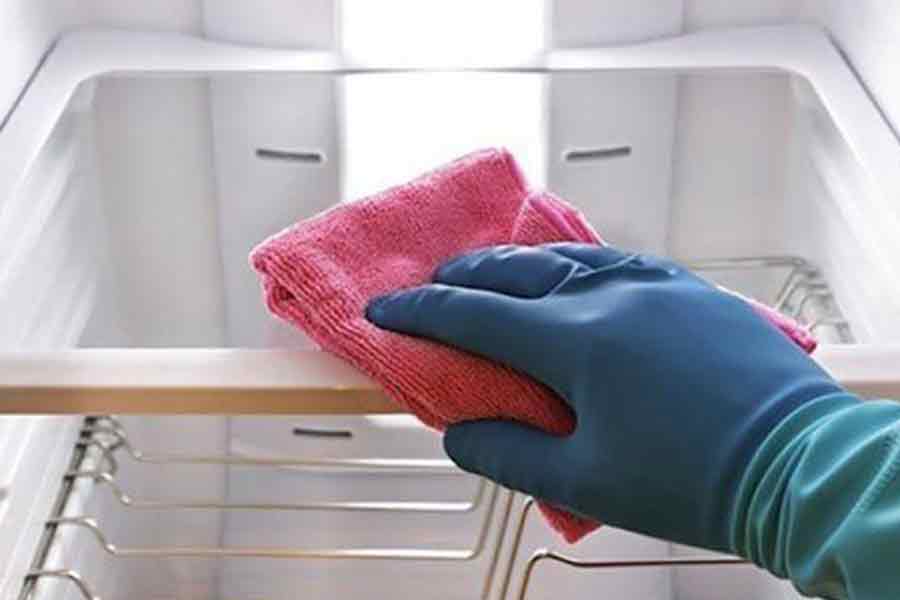
Clear and remove each shelf and drawer, and spray it with multipurpose cleaner or with vinegar and water.
Be sure, too, to get the handles and the outside. You can clear each shelf individually, or just clear out the whole fridge.